How to easily add Gravity Forms to Divi: step-by-step guide
Does your website use the popular Divi theme? Are you looking to embed a Gravity Form into one of your pages or posts? Although Gutenberg has evolved, many WordPress users still prefer visual page builders like Elementor, Beaver Builder, and Divi for building beautiful...
Does your website use the popular Divi theme? Are you looking to embed a Gravity Form into one of your pages or posts?
Although Gutenberg has evolved, many WordPress users still prefer visual page builders like Elementor, Beaver Builder, and Divi for building beautiful layouts easily. If you’re using Gravity Forms with Divi, this tutorial is for you.
In this guide, you’ll learn two ways to embed Gravity Forms in Divi, how to style them, and how to display submitted form data on your site.
Method 1: Embedding a Gravity Forms form in Divi using a shortcode
The Divi Builder does not have a built-in Gravity Forms module (yet), but you can manually embed a Gravity Form into a Divi page or post by using a shortcode.
Step 1: Copy/construct your Gravity Forms shortcode
- Open the Gravity Forms editor by editing your form
- Click the “</> Embed” button in the top right corner
- Scroll down and click “Copy Shortcode”

Alternatively, you can manually construct the shortcode using your form ID.
To get your form ID, log into your WordPress dashboard, hover over “Forms”, and click on “Forms”. You will see a list of all your Gravity Forms with the form ID displayed in the first column on the right. Copy the ID so you don’t forget it.
Here’s an example of a Gravity Forms embed shortcode:
[gravityform id="1" title="true" description="true" ajax="true"]You can copy this shortcode, just remember to replace the “id” value with your form ID.
Pro tipTo find out more about the different shortcode parameters, check out the Gravity Forms documentation.
Step 2: Add your shortcode to a Divi builder module
Now that you have a working shortcode, you can embed it into a post or page using the Divi builder. The best way to do this is by copying and pasting the shortcode into a Divi “Code” Module.
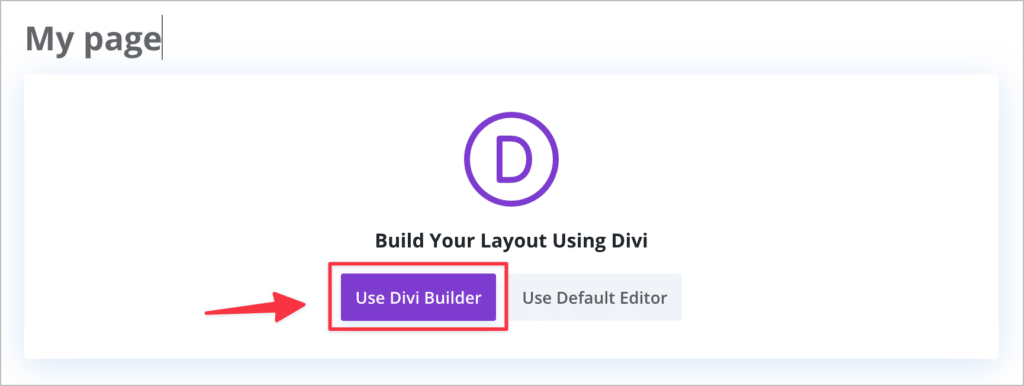
- Hover over “Pages” and click “Add New”
- Name your page and click “Use Divi Builder”
- Add a new “Code” or “Text” module
- Paste your shortcode into the module and save
Here’s a quick video showing how this works:
Method 2: Embedding a Gravity Form in Divi using a plugin
If you don’t want to use a shortcode, you can use the “WP Tools Gravity Forms Divi Module” plugin to embed Gravity Forms into your Divi posts or pages. The plugin allows you to:
- Add Gravity Forms using a visual module inside Divi
- Adjust shortcode properties (like title/description) inside the module
Step 1: Install the plugin
Follow these steps to install WP Tools Gravity Forms Divi Module:
- Go to “Plugins” and click “Add New”
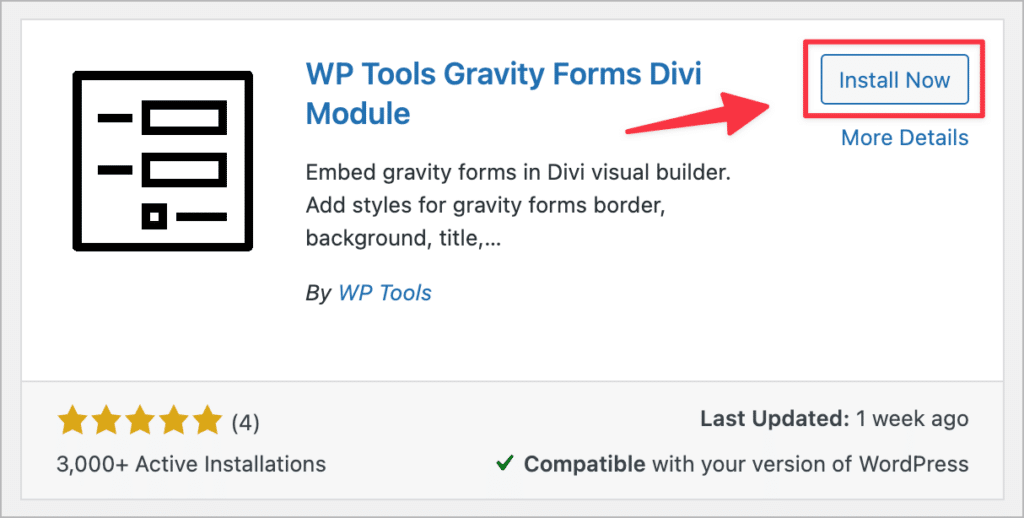
- Search for “WP Tools Gravity Forms Divi Module”
- Click “Install Now” and activate
- Alternatively, you can download it from WordPress.org and upload it to your site.
Step 2: Add the module to your Divi page layout
Now, inside the Divi Builder:
- Click the “+” icon to add a module
- Search for “Gravity Forms” and select it
- Use the dropdown to choose your form and configure display options
That’s it—no shortcode required!
There you have it. Those are the two methods for embedding Gravity Forms into your Divi website.
How to style Gravity Forms in Divi
To make your forms match your Divi styles, you have two main options:
Option 1: WP Tools (Pro version)
The Pro version of the WP Tools module gives you styling control directly in the Divi Builder:
- Font colors
- Buttons
- Spacing and layout
- And more
Option 2: Surbma Divi & Gravity Forms plugin (Free)
This lightweight plugin automatically applies Divi’s native form styles to Gravity Forms. Simply install and activate it—no configuration required. Be sure to check when it was last updated to ensure the plugin is still being maintained.
Bonus: Display Gravity Forms entries on your Divi site
After users submit your forms, you might want to display that submission data on your website—for example, to create:
You can do this using GravityView—an add-on that allows you to build front-end displays of your Gravity Forms entries.
Here’s how it works:
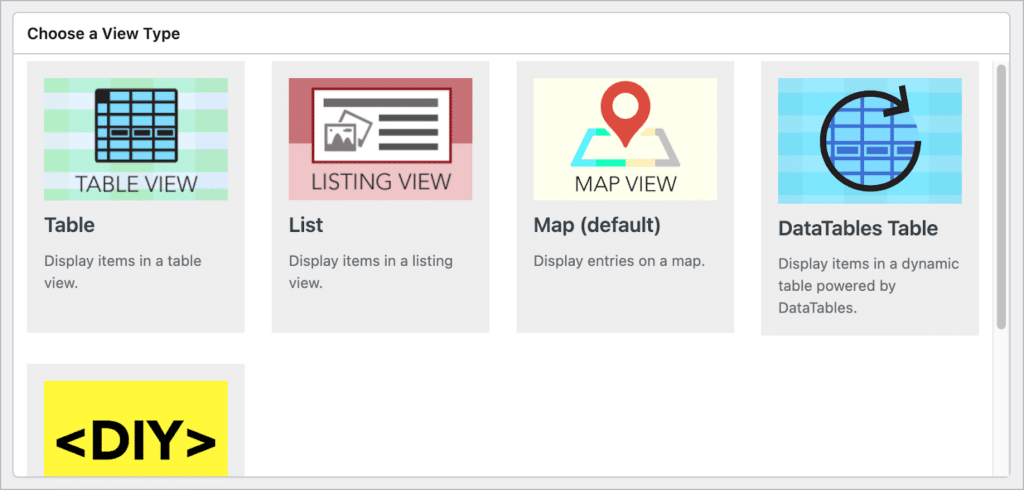
After installing GravityView, you can create a “View”, enabling you to display form submissions using different layouts. You can display data in a table, a list, on a map, in a DataTable, or create a custom layout using the DIY builder.
GravityView features a drag-and-drop editor, so you can create front end interfaces without writing any code!
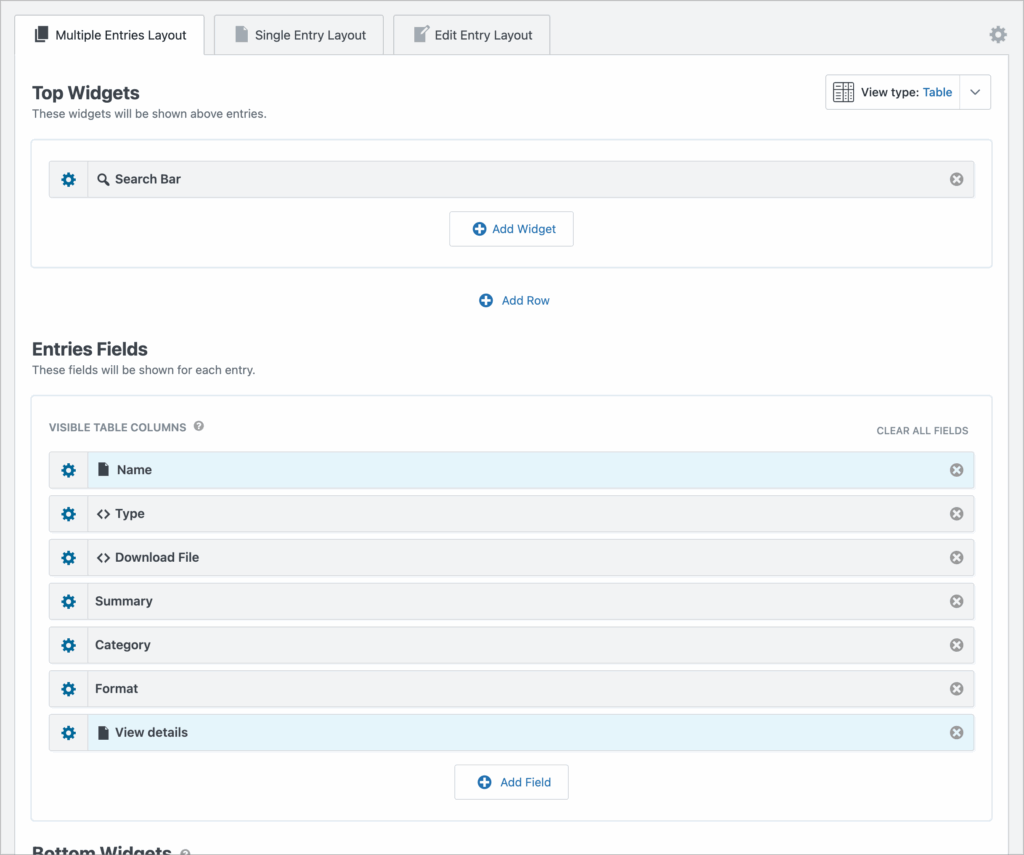
After you’ve configured your layout, you can use the GravityView embed shortcode to embed your View in a Divi page or post.
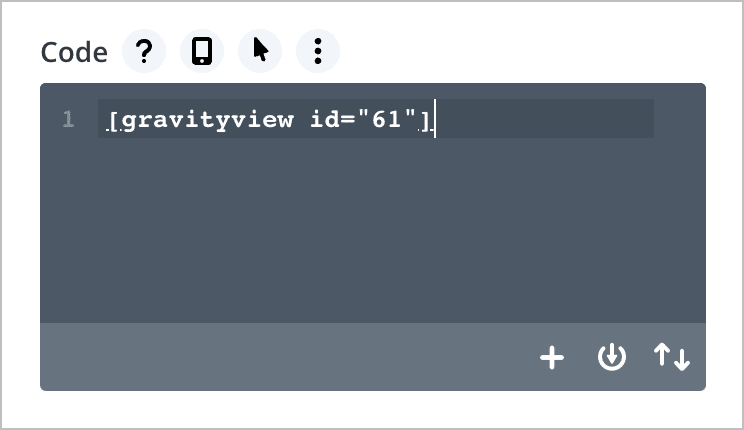
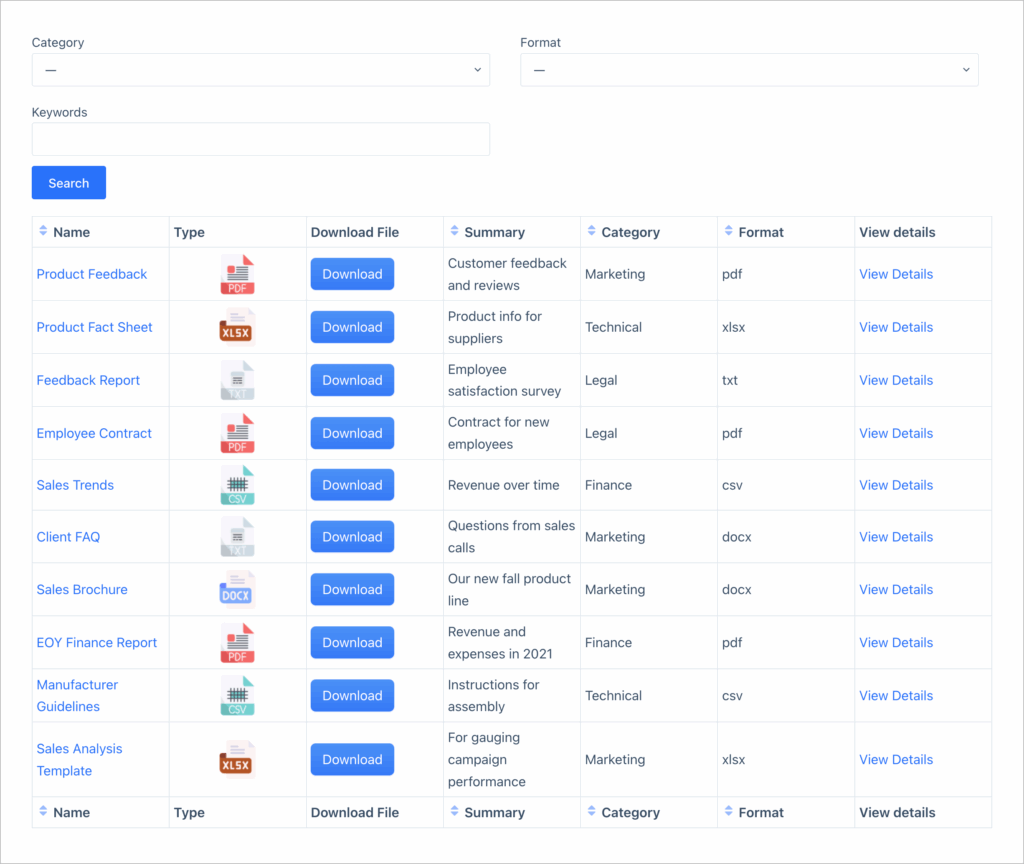
That’s it! Here’s an example of a document library View that displays documents uploaded via Gravity Forms.
You can learn more about GravityView on our website.
Using Gravity Forms with Divi: Final thoughts
While Divi doesn’t yet have native support for Gravity Forms, shortcodes and third-party plugins make integration simple.
To recap:
- Use a shortcode or the WP Tools plugin to embed forms
- Style your forms using either WP Tools Pro or Surbma’s Divi plugin
- Display submitted entries with GravityView and take your site to the next level

Helpful tips right in your inbox.
Subscribe to get the latest articles, information on releases and helpful Gravity Forms tips!
More articles

Random Test
Let’s compare comparision with regular post

SHORTCODE TEST
Normal shortcodes akjdhajksd [gravityview id=”123″] asdasd [gvlogic] asdasd asdasd [gv_entry_link] asdasd Shortcodes with inline code akjdhajksd [gravityview id=”123″] asdasd [gvlogic] asdasd asdasd [gv_entry_link] asdasd Shortcodes escaped akjdhajksd [[gravityview id=”123″]] asdasd [[gvlogic]] asdasd asdasd [[gv_entry_link]] asdasd this is the [[gvlogic]] shortcode this is the [[gvlogic]]…

How to create a dynamic careers page on WordPress using GravityKit
In this tutorial, you’ll learn how to build a fully functional and user-friendly careers page using Gravity Forms and GravityView. We’ll walk through creating job listings, application forms, and admin views so visitors can browse open positions and apply directly, while hiring teams can…