Getting Started With the DataTables Layout
In this article, we’ll show you how to get set up with the DataTables Layout.
Prefer to Watch the Video?
Installing the DataTables Layout #
You can install the DataTables Layout from inside WordPress. First, hover over “GravityKit” and click “Products & Licenses”.

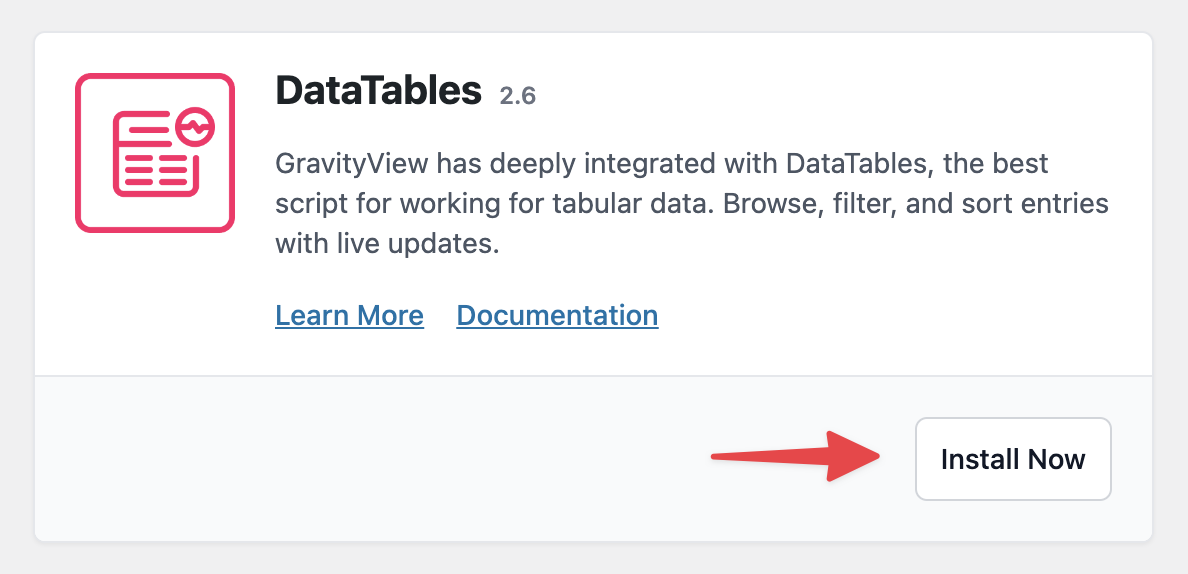
Now scroll down to “DataTables” (under “Views”) and click “Install Now”.
You can now start creating Views using the DataTables Layout!
Creating a View Using the DataTables Layout #
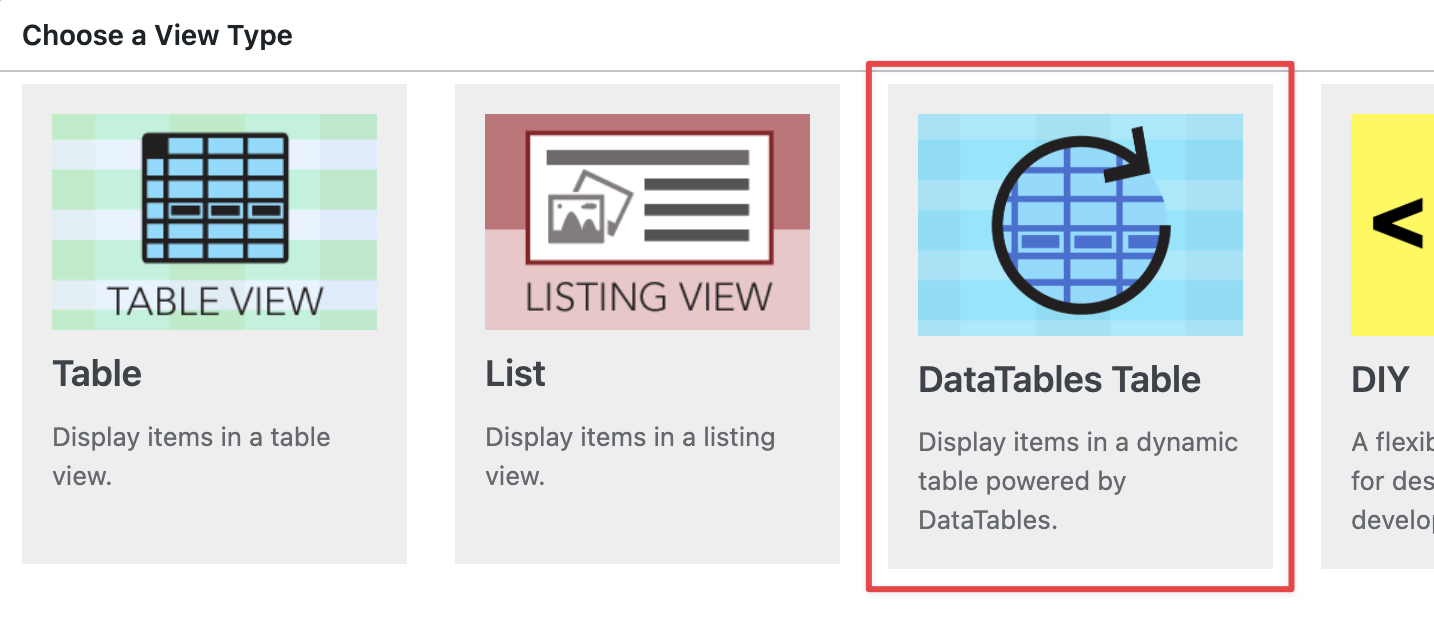
Hover over Views and click New View. Next, give your View a name and select a data source. Now, under “Choose a View Type”, select “DataTables Table”.
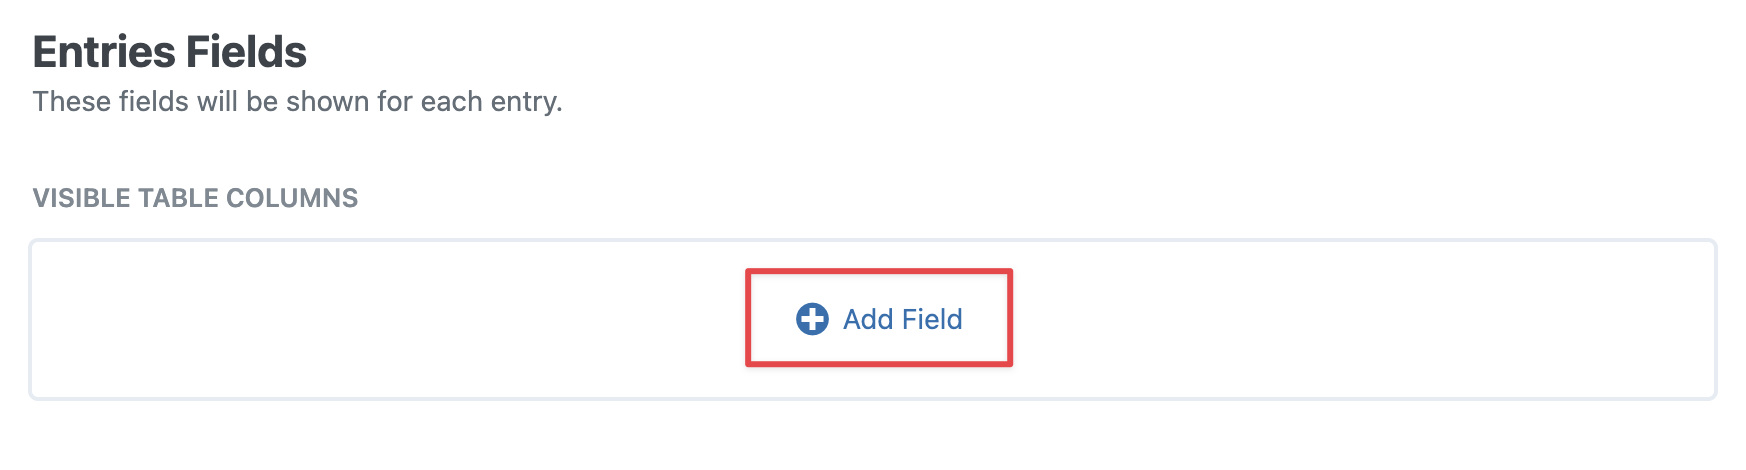
You can now begin adding fields to your View using the drag-and-drop View editor.
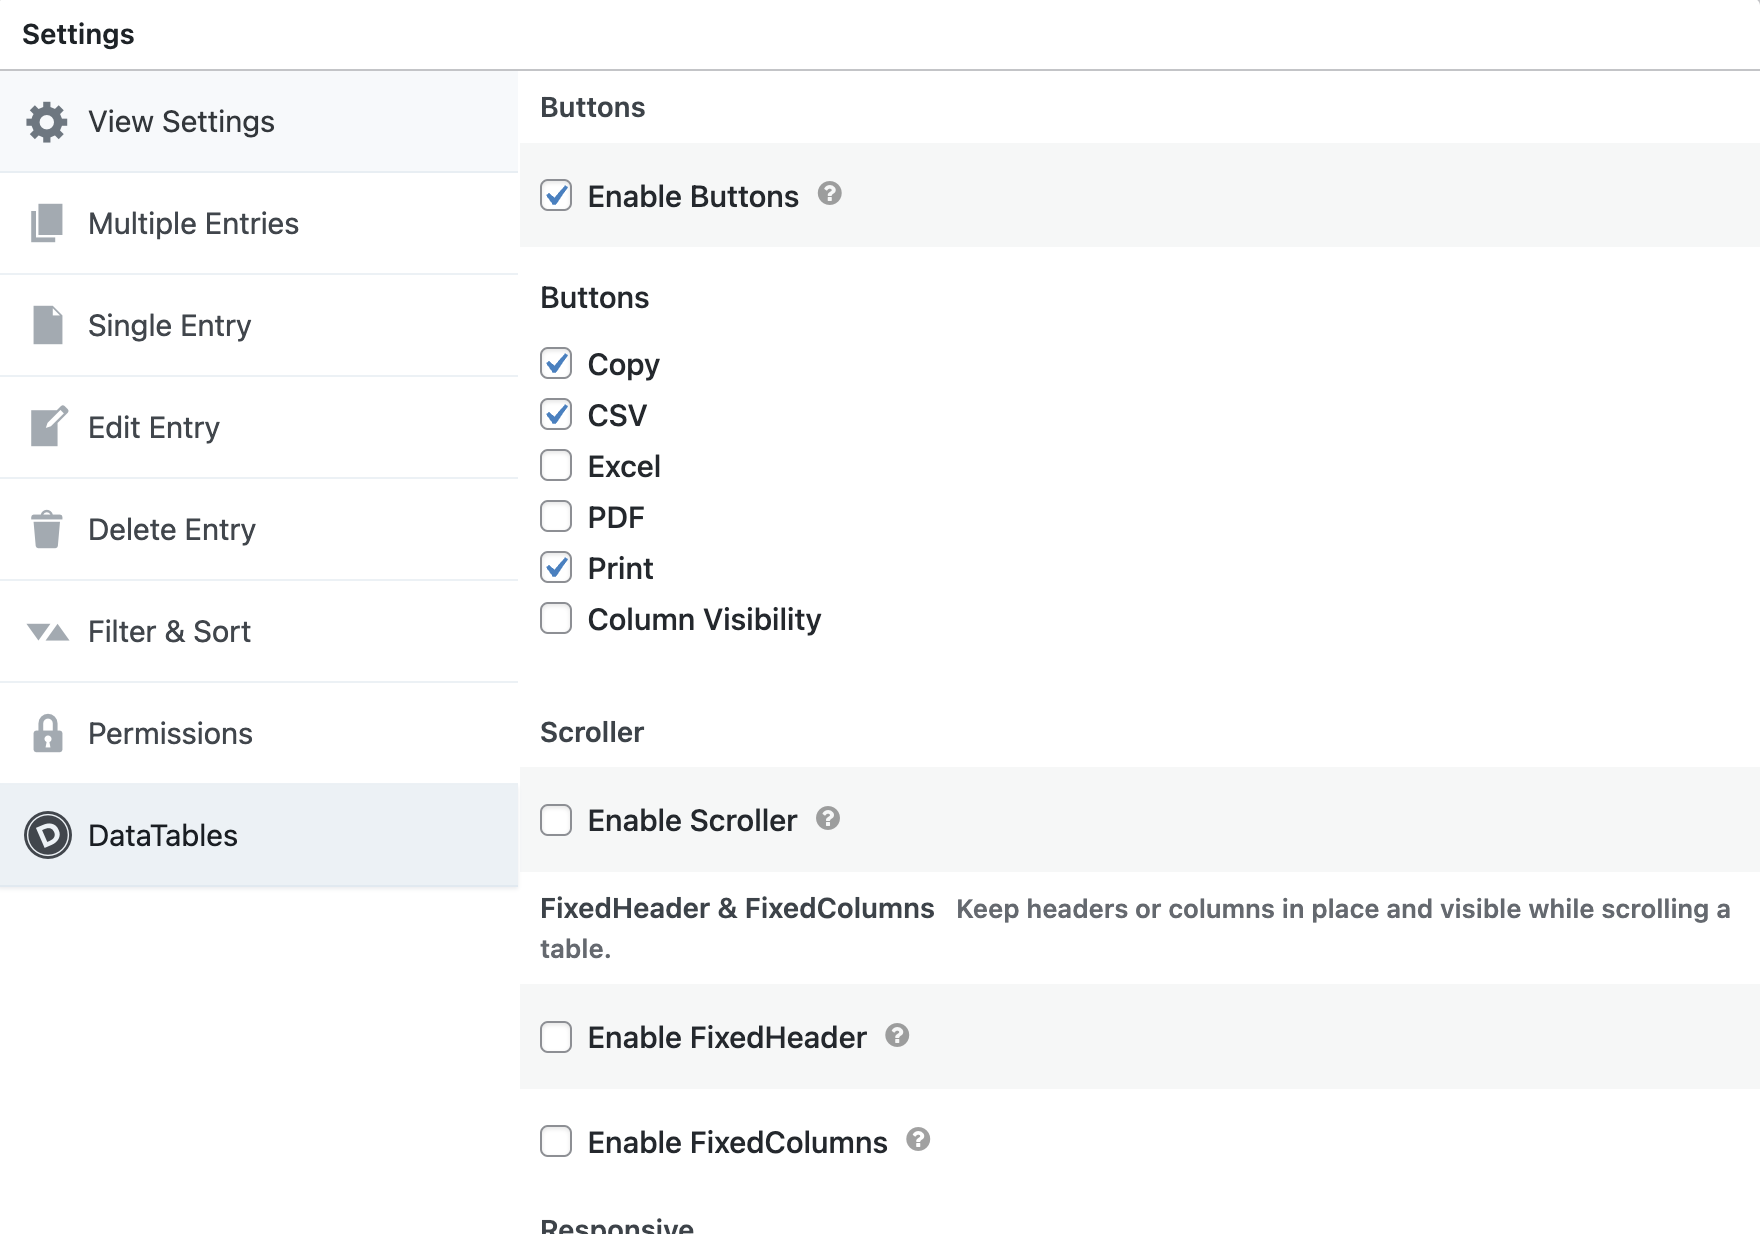
After configuring your View, scroll down to the View Settings and click on the DataTables tab. There you’ll find a range of options for customizing your table on the front end, including the ability to enable Auto-Update and add buttons for exporting data.
That’s it!