How to Connect GravityView With Zapier Using Uncanny Automator
Zapier is a service that connects different applications and allows you to create automated workflows. In this article, we’ll show you how to connect your GravityView app with Zapier using the Uncanny Automator plugin for WordPress.
1. Install Uncanny Automator Pro #
The first thing you’ll need to do is install Uncanny Automator Pro (there is a free version of the plugin, but you’ll need Pro for the GravityKit integration).
Uncanny Automator is a WordPress plugin that makes it possible to configure automated workflows for dozens of popular plugins and apps. Without writing any code, you can create “recipes” that cause certain activities on your site to trigger other activities.
2. Open Zapier and Create a New “Zap” #
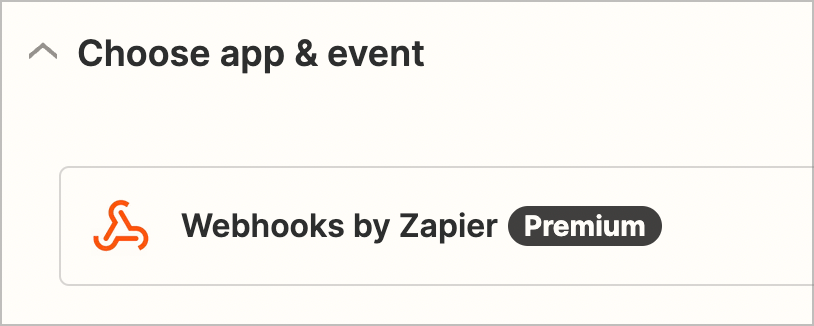
Sign in to your Zapier account (or create a free one here) and click “+ Create Zap” to create a new “Zap”. Now you’ll need to choose an app to act as the trigger. Select “Webhooks by Zapier”.
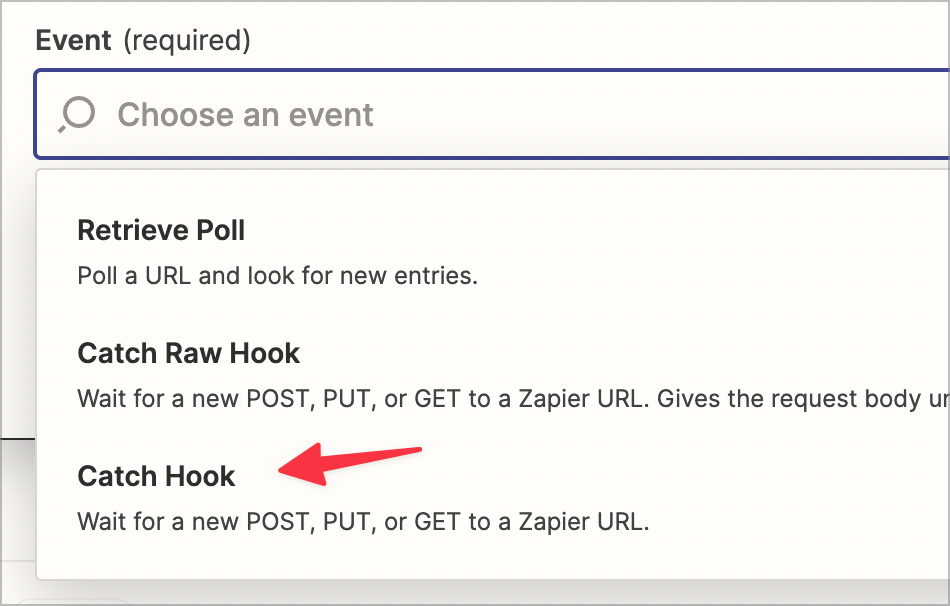
 Now you’ll need to select an event to trigger the Zap. Select “Catch Hook”.
 Zapier will now generate a webhook URL. Copy this URL to your clipboard as you’ll need it in the next step!
3. Configure a New “Recipe” in Uncanny Automator #
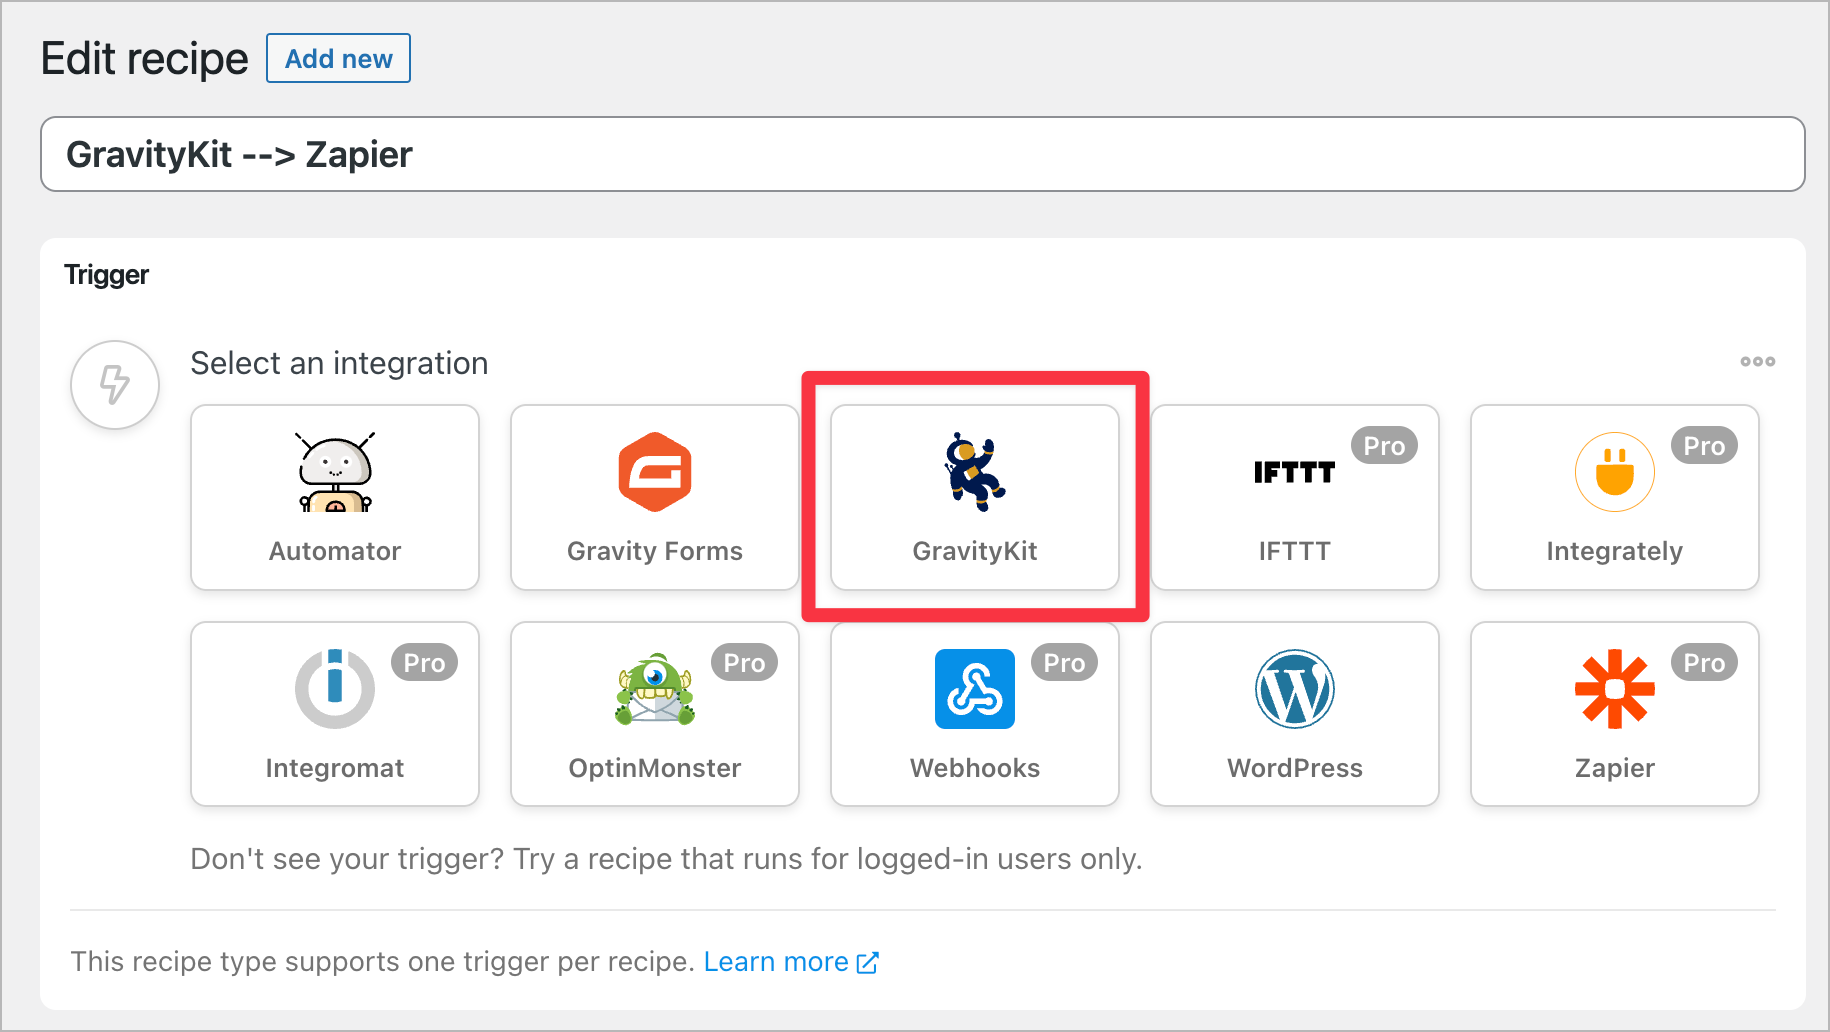
Start by hovering over Automator in your WordPress sidebar and click Add new. After giving your recipe a name, scroll down to Trigger and select GravityKit as your integration.
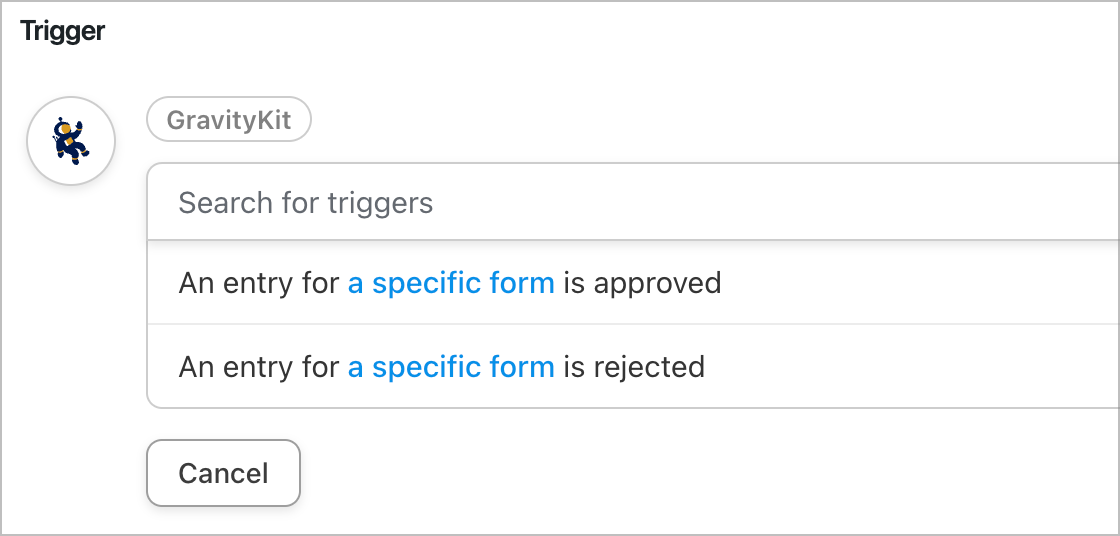
 Now define your trigger (there are two options: “An entry for a specific form is approved” or “An entry for a specific form is rejected”).
Now that your trigger has been set up, you’ll need to specify an Action. This is the activity that happens when the trigger has been fired. In this case, your action is going to be sending data to Zapier.

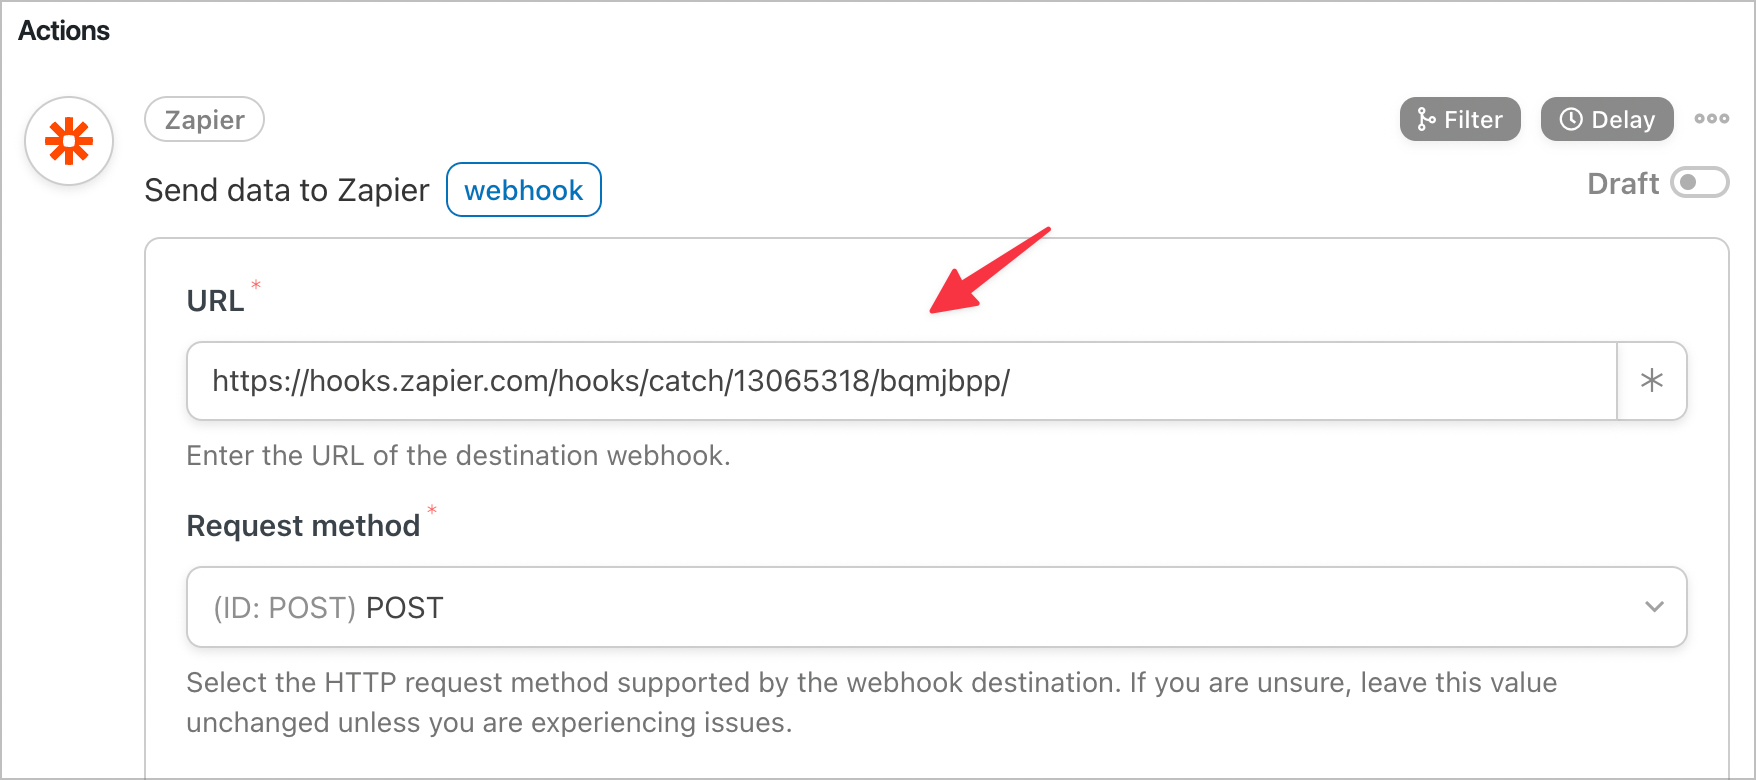
After selecting Zapier as your integration, you’ll need to specify a webhook URL. This is the same URL you copied from Zapier in the previous step! Go ahead and paste it into the box.
4. Test the Integration #
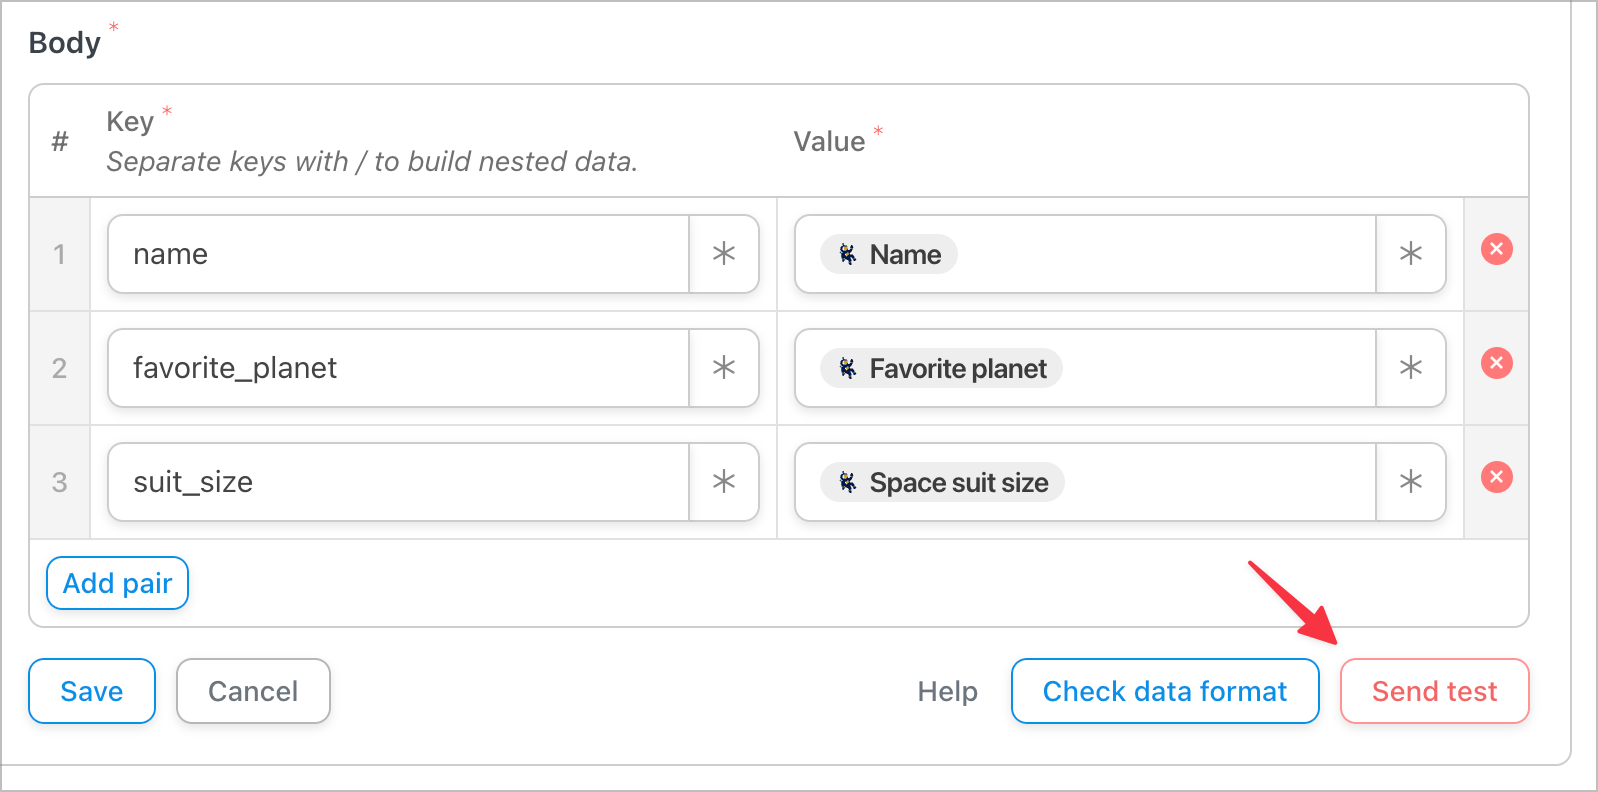
In the “Body” section of your webhook request, you can specify the data you want to send to Zapier using Key-Value pairs. You can use Gravity Forms field values to send user-submitted values from the entry.
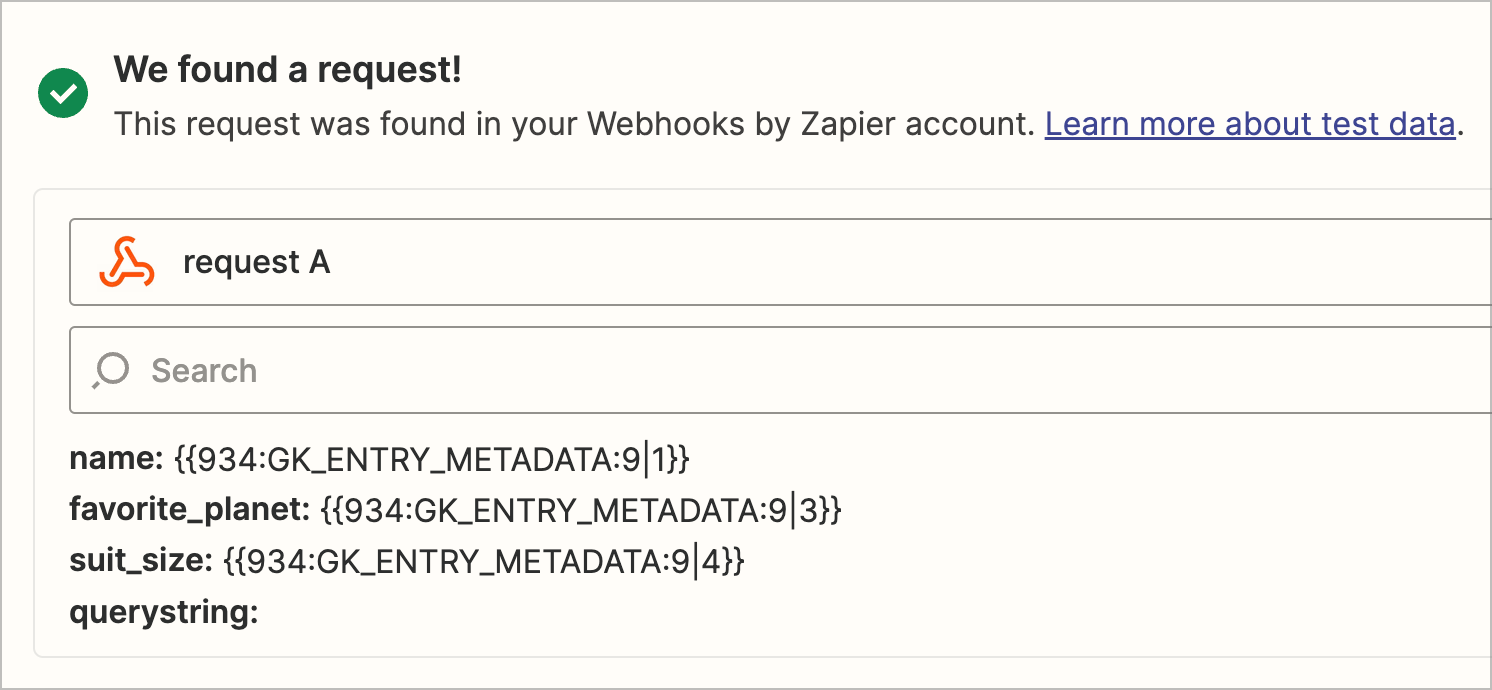
Now head back to your Zapier “Zap” and click Test trigger. If the integration is successful, Zapier will display a green check mark with a success message saying, “We found a request!”.
If your integration works as expected, go ahead and put your recipe live.
5. Add an Event in Zapier #
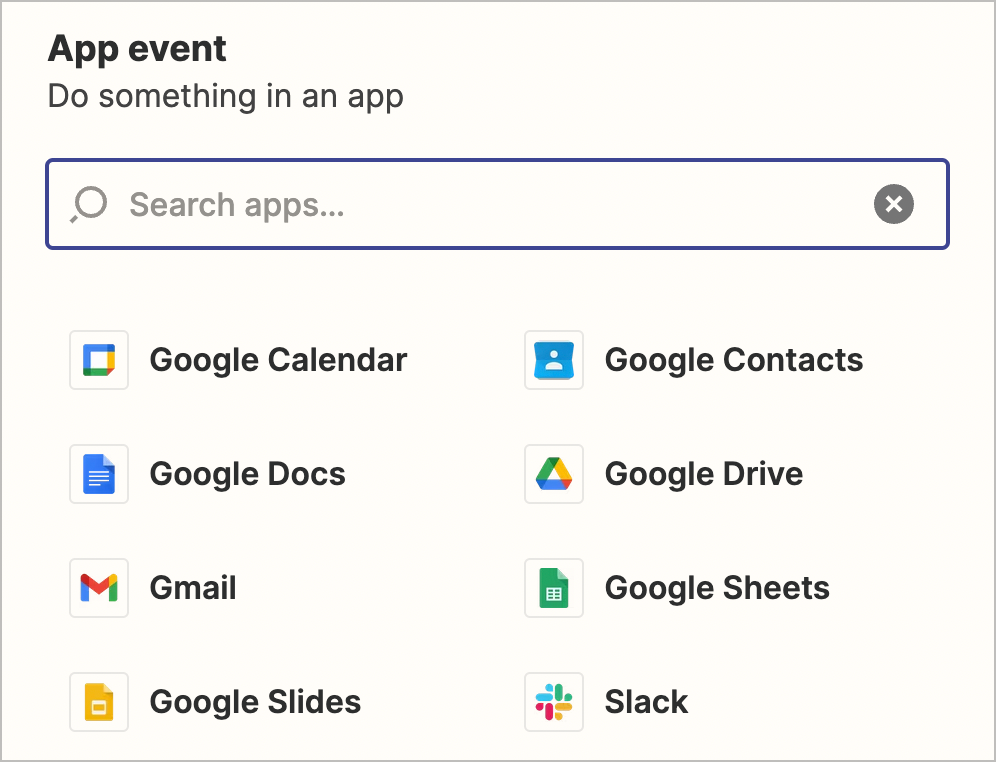
Head back to your “Zap” in Zapier and add an Event. This is the activity that will occur when Zapier receives your data. Zapier integrates with our 5,000 different apps, so there are thousands of choices for what should happen once your data has been received.
 That’s it! Now go ahead and test the integration one more time to ensure everything is working as expected.